Those of us who seek the graphic punch of black-and-white images have it tough in the digital world. Digital cameras capture colour data, and the great majority of picture printers are colour-obsessed. So, what should a creative professional do if they love the world to be in shades of grey?
I looked at how Photoshop can transform a colour image from a digital camera into a grayscale image in the first part of this series. My opinion is that, while I miss the rituals of a wet darkroom, the versatility of digital processing outweighs them. So I’ll show you how to print photographs after you’ve processed them in this follow-up.
Take Control
I wanted a controlled image to evaluate the output before printing my digital Image converted to Photoshop. So I took a 6 cm × 7 cm black and white negative from my bag. This photograph, taken on a Plus-X film in the late 1970s, shows a lot of contrast.
Using the SilverFast AI software that comes with the scanner I scanned the negative in grayscale and RGB colour spaces on the superb Epson 10000 XL flatbed scanner.
Both the scanned negative and the Image obtained with my digital camera were burned to a CD.
I took the CD to two different service bureaus, one with an HP Designjet 5500 wide-format inkjet printer and the other with a Fuji Frontier commercial photo finisher. Six dye-based inks are used in the HP Designjet 5500. Traditional colour photographic papers are used to process the Fuji Frontier and the web service Shutterfly. I requested that each service print an 8 x 10 of each file.
Disappointing Print
The scanned negative and converted digital camera photo produced disappointing results. Because the Fuji Frontier, HP Designjet, and Shutterfly are all colour-optimised, black-and-white photos aren’t their strong suits. When compared to the fireplace photo I shot on film and produced in the lab many years ago, these new prints lacked the punch of a contrasty black and white paper. I could have altered each output scenario for better outcomes if I had been able to control the output in person. However, many service bureaus do not encourage such client interference, involvement and, of course, it is impossible with online services.
Even if the prints were exceptional, I’d be concerned about their beauty deteriorating. The permanence of dye-based inks and ordinary papers is inferior to that of silver halides or pigmented inks.
Try This At Home
I felt disheartened. What good are black-and-white photographs that are just sitting on a hard drive? But then I decided to try out the Epson Stylus Pro 4800. This $1,995 printer works with material up to 17′′ x 22′′ (including museum-grade archival paper). It contains eight pigment inks, three of which are black.
Advanced BandW Photo is a fantastic feature included in the printer driver for the Stylus Pro 4800. You start with a colour image — to take advantage of it. I opened the RGB copies of my original photographs, went to the Media pull-down box, and selected Epson’s A3-size Premium Luster Photo Paper and Advanced BandW Photo as my Color option. In the Print Quality pull-down choice, I unchecked High Speed, checked Finest Detail, and chose SuperFine – 1440 dpi. This gave me the high-quality results I wanted.
I resumed my research. What if I selected SuperPhoto — 2880dpi from the Print Quality menu?
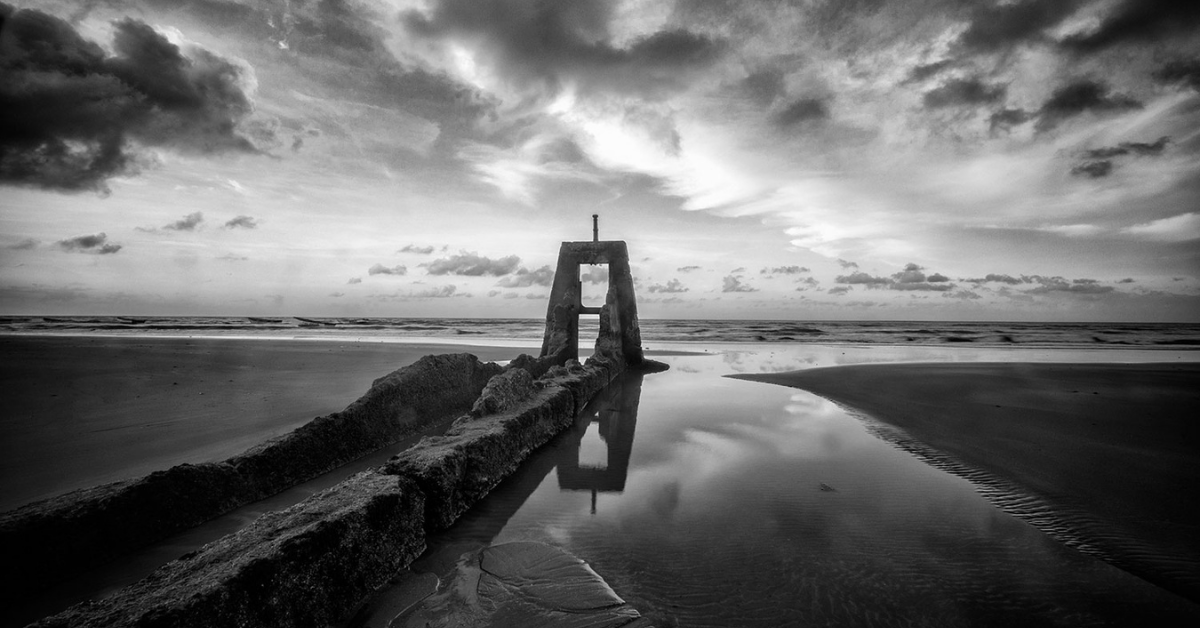
The file size of the Image of the doors (Figure 2) that I took with the Canon EOS-1Ds, Mk II, was 48MB. First, I opened the RGB version of this file in Photoshop and resized it to 300 dpi using Image> Image Size. But I couldn’t stop there because this operation would have resulted in a significantly larger picture than the A3 output size I had chosen. So, after tweaking the Image’s pixel measurements, I enlarged it to the desired size, opened the Print dialogue box, and followed the steps outlined above, selecting the SuperPhoto print quality.
I used an 8X loupe and my eyes to look for problems in the image quality. For all purposes, the print generated using the SuperPhoto option was identical to a very fine-grained photograph.
I opened the scanned negative and repeated the same steps to check my findings. The scan’s output was then compared to a black-and-white print created from the original film negative. The scanned image print was just as good as the original. (Moreover, I spent 2.5 hours in Photoshop altering the scan, whereas I spent days in the darkroom with the film.)
The 4800 is also in charge of colour tones. Select Printer Color Management in the same Print dialogue box. After selecting Advanced BandW Photo in the Print Settings, this will bring up a new dialogue box with several options. I chose Cool for my printing testing. I was able to fine-tune the tone from Darkest to Lightest using the Tone option. (If these two settings don’t satisfy your needs, the dialogue box’s many sliders offer infinitely changeable modifications.)
The Print’s the Thing
The Epson Stylus Pro 4800 was my favourite of all the devices I tried. Its output has the pop that I remember from my film days, and its pigmented inks and archival paper selection ensure that my newfangled prints will last for decades. It’s a big investment at $1,995, but for folks that require a lot of high-volume, sellable prints, it might be worth it. If the Stylus Photo R2400 is out of your price range, Epson’s Stylus Photo R2400 is a worthy alternative. The R2400, like the 4800, can print on archival media (albeit only up to 13 inches wide) and employs pigmented inks. It sells for $850, which is a more affordable price.


