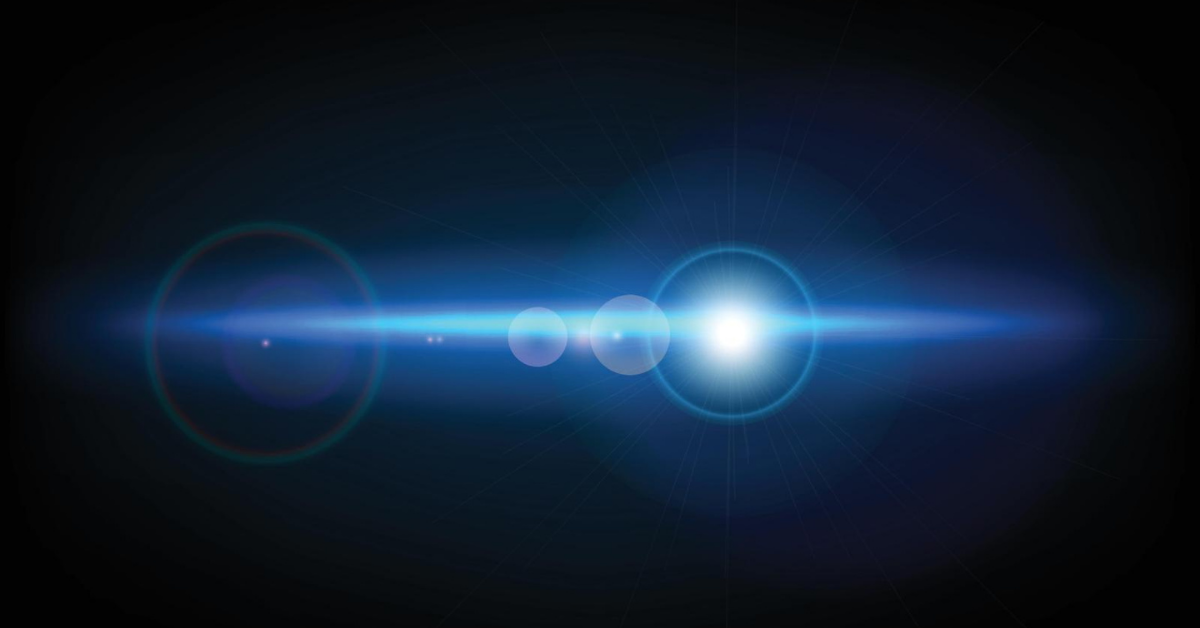
When non-image-forming light enters the lens and hits the camera’s film or digital sensor, lens flare occurs. This usually takes the form of a distinctive polygonal shape, with sides that vary depending on the curvature of the lens diaphragm. Lens flare can dramatically reduce a photograph’s overall contrast and is frequently an unwanted artefact; yet, some varieties of the flare can improve the artistic value of a photograph. Understanding lens flare can help you use — or avoid — it in a way that best complements the image you want to produce.
How It Happens
Except for the simplest cameras, all lenses are made up of many lens elements. Therefore, non-image light that does not follow its intended path (refracts) but instead reflects multiple times (back and forth) on lens elements before reaching the film or digital sensor causes lens flare.
Anti-reflective coatings on lens elements are often employed to lessen flare, but no multi-element lens can eliminate it. In places where the intensity of the refracted light is equivalent, light sources will still reflect a small amount of light, and this reflected light will appear as a flare. In addition, light reflected from the inside borders of the lens aperture causes flare that looks like polygonal forms.
Although internal reflections technically create flare, this generally necessitates very bright light sources (relative to refracted light). Flare-inducing light sources include the sun, artificial lights, and even a full moon. Even if there are no bright light sources in the photo, stray light that reaches the front element can enter the lens. Outside-of-angle-of-view light does not normally contribute to the final image, but it may follow an unanticipated path and reach the film/sensor if it reflects.
Reducing Flare With Lens Hoods
With a proper lens hood, flare caused by stray light from outside the angle of vision can be nearly prevented. Check that the inside of the hood has a non-reflective surface, such as felt, and that no parts have rubbed away. While using a lens hood may appear to be a simple solution, most lens hoods do not extend far enough to block all stray light. When utilizing 35mm lenses on a digital SLR camera with a crop factor, this is especially problematic because lens hoods were designed for a larger angle of vision. Furthermore, zoom lens hoods can only be made to filter all stray light when the focal length is widest.
There are a few simple but inconvenient workarounds if the lens hood is insufficient. A hand or a piece of paper placed on the side of the lens closest to the flare-inducing light source can be used to simulate the effect of a proper lens hood. On the other hand, it can be difficult to predict when this temporary hood will appear in a photograph. Finally, an adjustable bellow is a more expensive solution that many professionals employ. This is simply a lens hood that can be adjusted to match the field of view for a specific focal length.
Purchasing an alternate lens hood is another option for using 35 mm lenses and hoods on a digital SLR with a crop factor. Again, look for one that’s made for a lens with a narrower field of vision. One frequent example is using the EW-83DII hood instead of the one that comes with Canon’s 17-40 f/4L lens. The EW-83DII hood, designed to cover the angle of vision for a 24mm lens on a full-frame 35mm camera, works with both 1.6X and 1.3X crop factors.
Despite all of these precautions, no ideal solution exists. Because the perfect lens hood would have to stretch out to the farthest object while closely matching the angle of view, real-world lens hoods can’t shield against stray light.
Unfortunately, when it comes to light-blocking ability, the larger the lens hood is, the better. However, it’s still important to make sure the hood doesn’t obscure any image light.
Influence Of Lens Type
Fixed focal length (or prime) lenses produce less lens flare than zoom lenses. Aside from having insufficient lens hoods at all focal lengths, more complex zoom lenses typically require additional lens elements. Zoom lenses feature more interior surfaces where light might reflect as a result.
Because the sun will most often be inside or near the angle of view, wide-angle lenses are often designed to be more flare-resistant when exposed to intense light sources.
In today’s high-end lenses, anti-reflective coatings are more common. However, some older Leica and Hasselblad lenses don’t have extra coatings and can flare up quite a bit.
Minimizing Flare Through Composition
Flare is ultimately under the photographer’s control, as it depends on where the lens is aimed and what is in the frame.
Although photographers rarely give up artistic freedom for technical reasons, certain compositions can effectively reduce flare. The most effective solutions are those that combine creative aim with technical excellence.
Place objects in your image such that they partially or block any flare-inducing light sources.
The optimum strategy is to shoot with the problematic light source behind you, though this is usually either too restrictive or impossible. Even a small change in the lens’s angle can change the appearance and position of the flare.
Using the Depth Of Field Preview to Visualize Flare
The appearance and position of lens flare vary depending on the aperture setting of the photo. Because the scene appears in the viewfinder of an SLR camera only while the aperture is wide open (to create the brightest image), it may not accurately represent how the flare would appear after exposure. You can utilize the depth of field preview button to see how the flare will appear at different apertures, but be aware that this can drastically darken the viewfinder image.
To mimic streaks and polygonal flare shapes, push the depth of field preview button, which is normally placed at the lens mount base. However, this button is insufficient for simulating how washed out the final image will appear because the flare effect depends on the length of the exposure.


